Events are the basic information about a course, including the name, description, and other permanent features. Each course is one event. For additional information about all options, take the Creating and Managing Instructor-Led Training online course or visit Cornerstone's online help.
Navigate to the Manage Events & Sessions page.
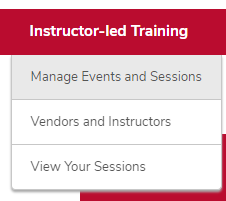
- Hover over the ILT tab.
- Click Manage Events & Sessions.
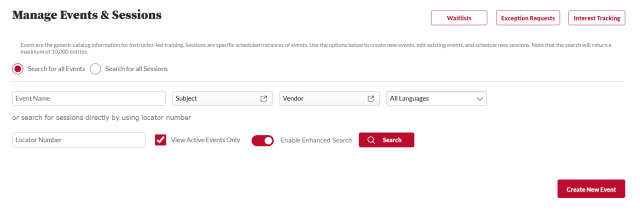
Click the Create New Event link.
Record the Properties.
Type the event name in the Event Name field.
- In the Vendor field, click the arrow icon. In the pop-up box, click the blue plus sign next to your Vendor name.
- Type the training length in hours and minutes in the Training Hours field.
- Type a description of the training in the Description field.
- Type an objective for the training in the Objectives field.
- Select a subject.
Click the Add Subject link. In the pop up box, select a subject that relates to the training.
- Check or uncheck the options for Options, if desired.
- Check or uncheck the options for Ability to Select Session, if desired.
- Select a training contact.
- Click the arrow icon next to Training Contact.
- In the pop up box, type the name of the training contact.
- Click the Search button.
Click the name of the training contact.
Click the Next button

.
Set the availability.
- Check the Copy Availability To New Sessions checkbox, if desired.
- Select Group in the Select Criteria drop down menu.
- Click the arrow icon.
- Click the plus sign next to the appropriate group.
- Click the Done button.
- Ensure that the check boxes for “Pre-Approved” and “Register Upon Approval” are checked.
Click the Next button
.
Record the Session Defaults.
- Uncheck the Allow Advance Registration for Interested Users checkbox.
- In the Registration Deadline field, type the number of days before the start of the session you would like registration to close.
Type the Minimum Registration and the Maximum Registration number.
- Uncheck the Allow waitlist sessions in this event checkbox, if desired, and select waitlist options.
- Add instructors by clicking on the Add Instructors link.
Select the instructor from the list.
Click the Save button

to save the event.