There are some situations where a session roster needs to be moved from one session to a session within the same event, such as when a session must be canceled. Be sure to create the session you want to move the roster to before you begin.
For help with moving a session roster from one event to another event, review the Move a Session from One Event to Another Event job aid.
- Open the roster you want to move to a new session.
- Hover over the ILT tab.
Click Manage Events & Sessions.
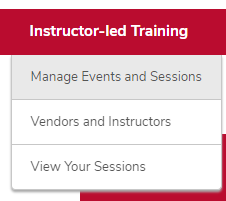
Click the View Sessions button on the same line as your event.

- Click the Roster button on the same line as your session.
- Move learners to the new session.
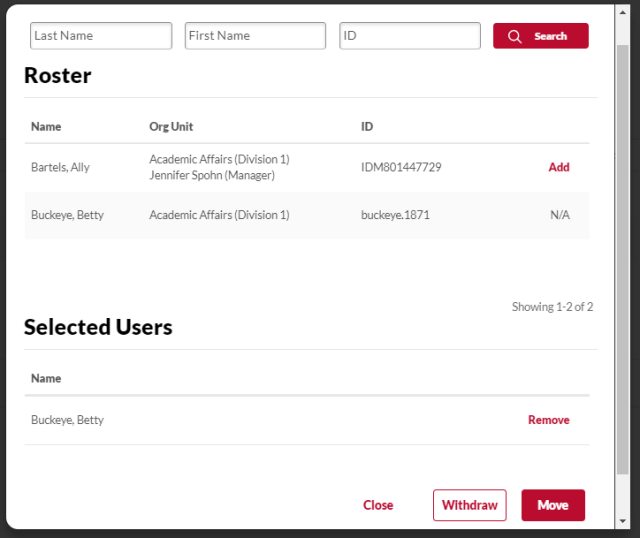
Click the Actions icon in the Users section, then click Withdraw/Move Users.

- Click the Add button next to each learner you want to move.
Click the Move button.
- Select a move reason from the drop-down menu.
- Type a comment, if needed.
- Check the Do Not Send Withdrawal Email box to not send an email to learners, if needed.
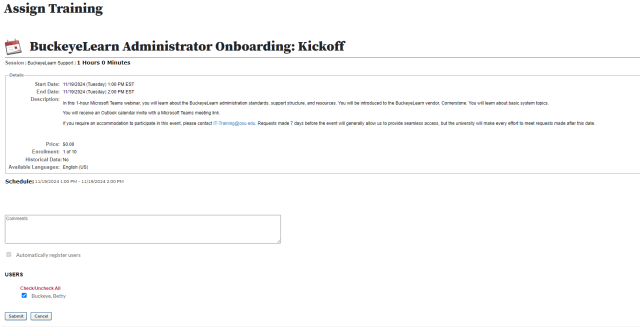
- Select the session the learners will be moved to.
Click the Submit and Continue button.

- Verify the learners to be moved.
Click the Submit button.
- Cancel the original session, if needed.