Sessions are the specific times and dates of events. Sessions can have different locations, times, dates, instructors, and other features. There may be multiple sessions for each event. Learners must select a session for each event they wish to attend.
When creating a new session, most information is defaulted in from the event. For additional information about all options, visit the Create New Event job aid, take the Creating and Managing Instructor-Led Training online course, or visit Cornerstone's online help.
- Navigate to the Sessions page.
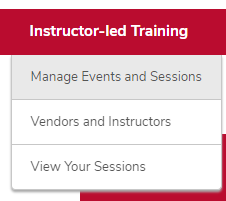
- Hover over the ILT tab.
Click Manage Events & Sessions.
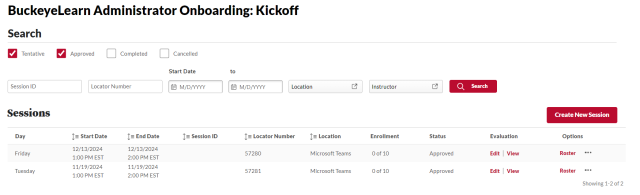
Click the View Sessions button on the same line as your event.
Click the Create New Session link.
Create the session part(s).
- Type a name for the session part, if desired.
- Type a description of the session, if desired.
Select the location of your session.
Helpful Note:
If your session will be held virtually through CarmenZoom or Microsoft Teams, choose one of these options in the Location field on the Parts Schedule tab. Then, enter the meeting URL in the Meeting Link field on the Details tab.
Before adding a CarmenZoom meeting link to the Meeting Link field, review the Scheduled Meetings resource for information on the meeting ID expiration periods.
If your session will be held in-person and the classroom location is not available to select from the Location field, contact your OU admin to have it added by the BuckeyeLearn Support team.
- Add or remove instructors.
- Select the date and time of the session part.
- Add scheduled breaks, such as lunch breaks, if desired.
- Click the Save Part button to save this session part. Click the Save and Add New Part to save this session part and add another part.
Review the Part Schedule page.
Helpful Note:
You can edit or delete parts or add new parts on this page.
Click the Next button

.
- Review and edit any of the information that was defaulted in from the session defaults on the event.
Click the Next button
.
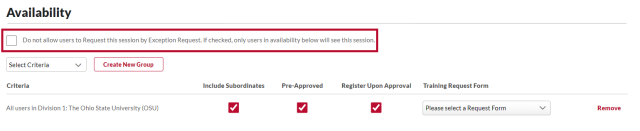
Review and change the availability, if desired.
Helpful Note:
If you did not set availability on the event, you must set availability here if you want learners to be able to search and register for the session. If no availability is set for a session, then learners cannot search for or request it. However, sessions with no availability can still be assigned by administrators using learning assignments.
Check the Do not allow users to Request this session by Exception Request box to allow only learners who are in the availability to see this session. Learners can view sessions that are not available to them by checking the View All Session button on the Event Summary page. If learners attempt to request a session that is not available to them, an exception request will be created. To prevent learners from seeing sessions that are not available to them, check the Do not allow users to Request this session by Exception Request checkbox when creating sessions.
Click the Next button
.
- Review the Summary page.
Click the Save button

to save the session.