Definitions
SiteID
The name of your OTDI Webhosting Account which may (or may not) match your site’s main web address. For example, https://osu.edu is The Ohio State University’s main web address, but their OTDI Web Hosted SiteID is ‘osumain’.
Web Root
The full path to where your website account is stored on our servers. This is useful for SSH users or websites that require you to tell them exactly where they live on the filesystem. For OTDI Web Hosting, this is typically
/usr/local/webs/[SiteID]/Document Root
The directory that will contain the web pages visible to your public. For WH this is typically /usr/local/webs/[SiteID]/htdocs/, but for JavaScript it needs to be:
/usr/local/webs/[SiteID]/nodejs/Users who are allowed to connect directly to the Web Hosting system via an SSH shell. Instructions for setup & use can be found in Shell Access.
Process
Check/Set Your Container Image
In the OTDI Web Hosting Dashboard, under the ENV Configs section of the SiteID you plan to use for your JavaScript application, check that it’s set to a nodejs server image. If it’s not, choose & save a Node.js image that suits your purpose.
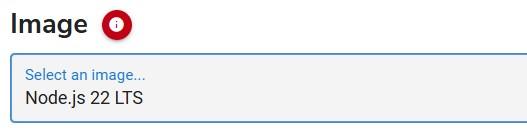
Saving your new image will trigger several processes on the OTDI Web Hosting Servers, rebuilding your Kubernetes Containers with the node.js image. These processes may take up to 45 minutes to complete.
Ensure You Are a Shell User
In the OTDI Web Hosting Dashboard, ensure your name.# has been added to the Shell users’ group.

Connect to Web Hosting Via Secure Shell
ssh [name.#]@webssh.osu.eduChoose the SiteID you want to use from the list provided. If you can’t connect, Sponsored Guest Connections may help.
Verify the JavaScript Document Root was successfully generated
cat /usr/local/webs/[siteID]/nodejs/server.jsIf the results of your command are empty, then manually create a Node.js working directory …
cdweb
mkdir nodejs
chmod 755 nodejs
Then create a Node.js configuration file ...
cd nodejs
touch server.js
chmod 644 server.js
And populate that new configuration file with the following text:
/* Need to listen with these specific settings! */
const hostname = '::';
const port = 3000;
/* Create a stub server as a placeholder */
const { createServer } = require('node:http');
const server = createServer((request, response) => {
  response.statusCode = 302;
 response.setHeader('Content-Type', 'text/html; charset=utf-8');
 response.setHeader('Location', '/static/');
 response.end('<html><head><meta http-equiv="refresh" content="0; url=/static/"></head></html>');
});
server.listen(port, hostname, () => {
 console.log(`Placeholder server running at http://${hostname}:${port}/`);
});
Restart Your Website
In the OTDI Web Hosting Dashboard, under the General section of the SiteID you plan to use, click the Restart Website Button:
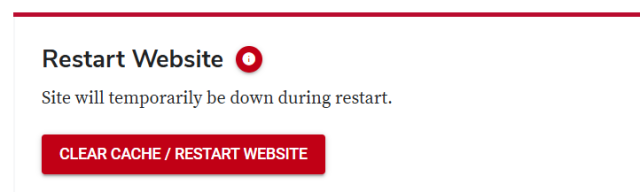
This button performs a rolling restart of any containers associated with your account & clears your containers’ cache on our ingress Controller. It should complete in less than a minute.
Test your website
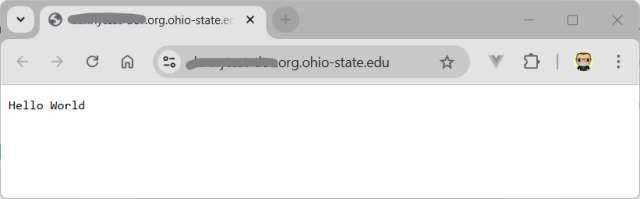
Open a Web Browser & navigate to your Application’s URL. You should receive a “Hello World” page.
Shibboleth, DUO or GMS in your App
In Web Hosting, your Node.JS server is running behind an Apache Server that’s already running a Shibboleth SP module, so there's no need to define your own SP. In this configuration, Apache forwards all web traffic to the /nodejs/public/ folder instead of /htdocs/.
Apache forwards system variable & header information to the Node.JS environment, but anything written in an Apache .htaccess file gets disregarded, as Apache never ingests it. Because of this, you cannot use .htacces rules to implement Shibboleth in a Node.JS application.
You can however, still use Shibboleth Authentication in your app. You simply need to create the protected area in your /nodejs/public/ environment, and redirect your users to it with a 302 or 307 redirect using a properly formatted link like this:
- https://[Your-Apps-URL]/Shibboleth.sso/Login?target=https://[Your-Apps-URL]/[protected-path]
Before issuing the redirect though, you may want to have your application check for the existence of a ‘REMOTE_USER’ variable within the environment or headers. You can effectively use this variable to determine if the user already has a shibboleth token, or if your redirection was successful.
If you wish to implement Shibboleth and BuckeyePass (Duo) for authentication, then you’ll need to append that redirection link with this variable:
- &authnContextClassRef=urn:mace:osu.edu:shibboleth:ac:classes:mfa
Similarly, if you wish to implement Shibboleth for authentication and your OSU Group Management Service (GMS) account for authorization, then you’ll need to append the redirection link with this variable:
- &entitlement=https://[EntityID]/hostedsp/[SubGroup]
As before, you may want to have your application check for the existence of an ‘ENTITLEMENT’ variable within the environment or headers. You can effectively use this variable to determine if the GMS entitlements are set properly.
Notes
Known Webhook Catch-22
The Node.JS container image will not produce a working website without a server.js configuration file in the /nodejs/ Document Root. However, should you plan to use our Gitlab Webhook service to keep your application up to date, you’ll need to create a server.js file in your remote Git Repository and remove the server.js file created above. The initial ‘Pull’ request issued by our Webhook service will fail if the /nodejs/ directory isn’t empty. (No Overwrite Permissions)