Install Software
- Install Chocolatey™ using an Administrative PowerShell terminal
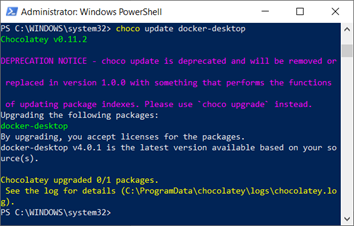
- Install Docker-Desktop with Chocolatey™
PS C:\WINDOWS\system32> choco update docker-desktop
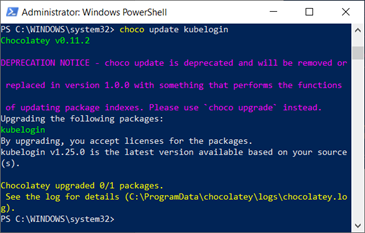
- Install kubelogin with Chocolatey™
choco update kubelogin
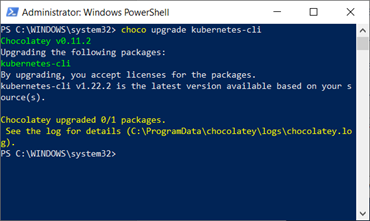
- Install Kubernetes-cli (kubectl) with Chocolatey
choco update Kubernetes-cli
Configure Connection
- Request the latest version of the PowerShell Installation script via email here. We’ll copy the script into your project’s Flux Repository.
- Log in to OSU Gitlab with Shibboleth and navigate to your project’s Flux Repository under repo.service.osu.edu:ContainerService/customer_flux/.
- Use your favorite method to clone/pull: git@repo.service.osu.edu:ContainerService/customer_flux/[your-flux-project].git
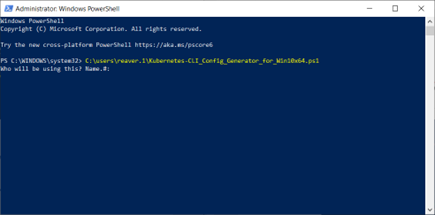
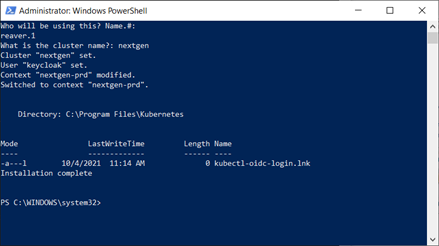
- Inside your local copy of the repo, find the ‘Kubernetes-CLI_Config_Generator_for_Win10x64.ps1’ setup script (under the base: Kubernetes_CLI) and run the script in PowerShell™.
- Run it in an Administrative PowerShell instance.
- Enter the name of the user who will be running kubectl.
If multiple users will be running kubectl on the same machine, run this script once for each user.
Enter the Kubernetes Cluster Name you will be managing.
Test Connection
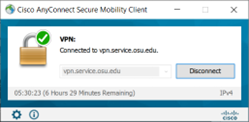
- If not already on campus, install & connect to the OSU VPN.
- VPN and BuckeyePass
Kubernetes is restricted to on-campus IP Addresses
- Launch a Windows Command Prompt (A Non-Admin Terminal)
- As the kubectl user, Click ÿ START, Type “cmd”, and hit Enter
Issue the command, C:\> ”Program Files\Kubernetes\kubectl” version
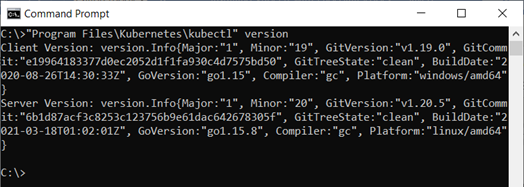
- That looks good, let’s attempt to connect to the Kubernetes cluster
Connect
- Connect to the OSU VPN if not already on campus.
Kubernetes is restricted to on-campus IP Addresses
- Launch a Windows Command Prompt (A Non-Admin Terminal)
- As the kubectl user, Click START, Type “cmd”, and hit Enter
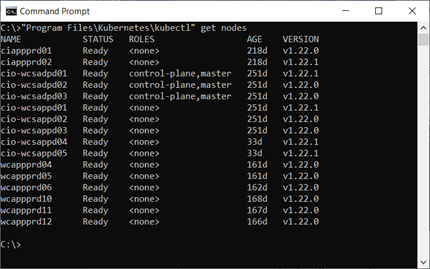
Issue the command, C:\> ”Program Files\Kubernetes\kubectl” get nodes
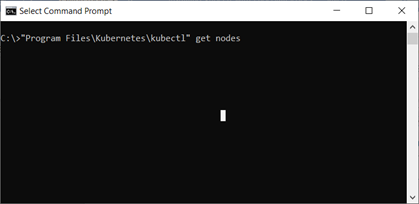
That will launch a separate Shibboleth Authentication Browser window
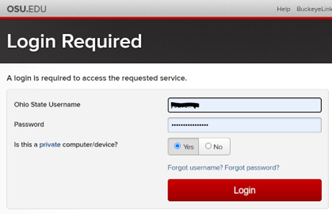
Once Authenticated, minimize your browser and your terminal should now show the following
Help
Did something not go right?
- Need Local Administrative access to run PowerShell™?
- Need to get an account on the Kubernetes Cluster? Here’s how:
- Need help with this installation? Did you get an error during installation?
- Did you receive the following error, followed by “Installation Complete”?
New-Item : NewItemIOError
At C:\users\user\Kubernetes-CLI_Config_Generator_for_Win10x64.ps1:39 char:1
+ New-Item -ItemType SymbolicLink -Path "C:\Program Files\Kubernetes\"  ...
+ ~~~~~~~~~~~~~~~~~~~~~~~~~~~~~~~~~~~~~~~~~~~~~~~~~~~~~~~~~~~~~~~~~~~~~
+ CategoryInfo : ResourceExists: (C:\Program File...-oidc-login.lnk:String) [New-Item], IOException
+ FullyQualifiedErrorId : NewItemIOError,Microsoft.PowerShell.Commands.NewItemCommand
This occurs during the ‘Connection Configuration’ stage of the installation if the Symbolic Link for oidc-login already exists. It is safe to ignore this error.