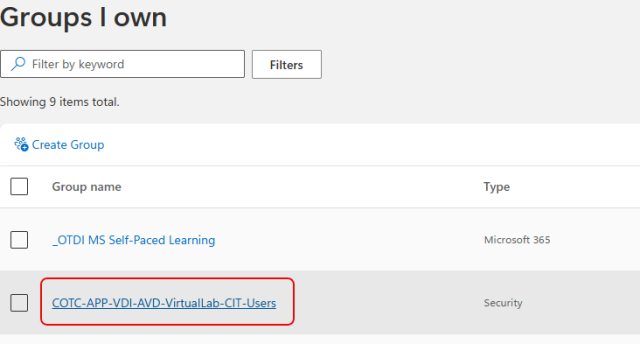
Different services or tools may use Microsoft 365 Groups to membership management, such as Virtual Desktop. M365 Group Management can be done by accessing the university's web portal for My Groups. You must be an owner of a Group to modify the Group.
Select the name of the Group to modify.
Add a Group Member
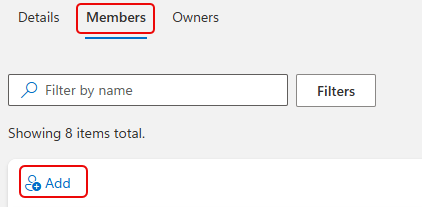
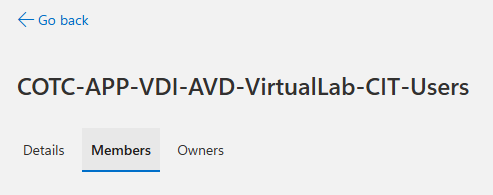
To add a Group Member, once inside the details of the Group select the Members tab at the top and select the Add button.
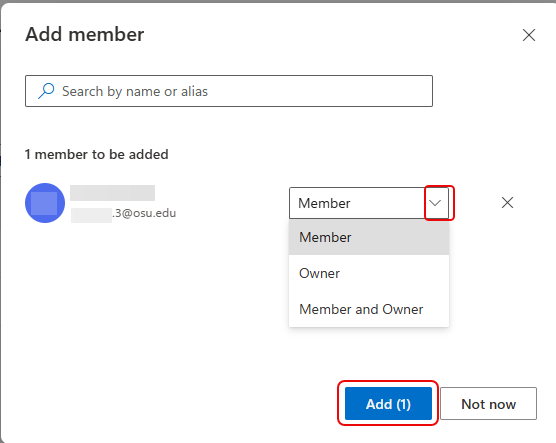
Type the username of the account to be added and select the correct result. In the Add member window the drop-down menu can be used to change the type of membership the account being added will have. The options are Member, Owner, or Member and Owner. To add more than one member type the next name into the search field and keep adding members until all members have been selected. Then select the Add button.
Modify Membership Type
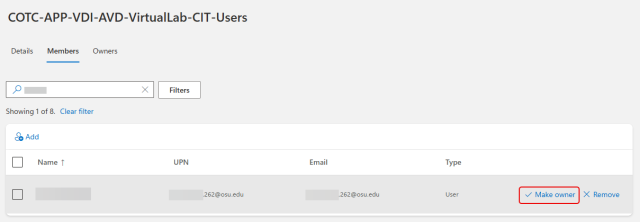
To change the membership type of an account, such as promoting a user account to an Owner select the Members tab.
Search for the name of the account in the Filter by name field and select Make owner for the account to be promoted.