Overview
The pages to approve proposals are consolidated into lists on the CourseLeaf Dashboard. The list shown is based on role and can be viewed by selecting the specific role the user is approving pages for. Approvers can also click the link from workflow email to direct themselves to the approve pages with the specific role that they are assigned selected. Approvers are also encouraged to bookmark the specific URLs from the workflow email in their preferred web browser for easy access.
Click the Workflow Tab on the CourseLeaf Dashboard
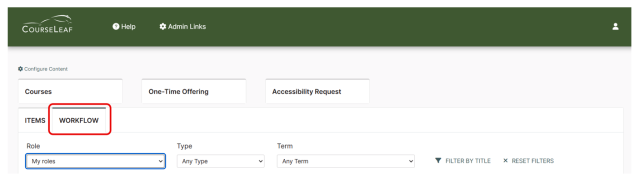
If you use the link from the automated email, your role will be pre-selected for you
Taking Action on a Page
- Click the Your Role drop-down menu at the top of the workflow page and select the account for which you want to review and approve pages
- If you use the link from the automated email, your role will be pre-selected for you
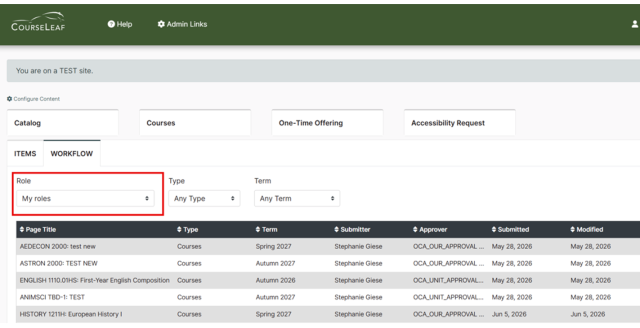
- Scroll through the Pages Pending Approval list and click on the row of the proposal to review
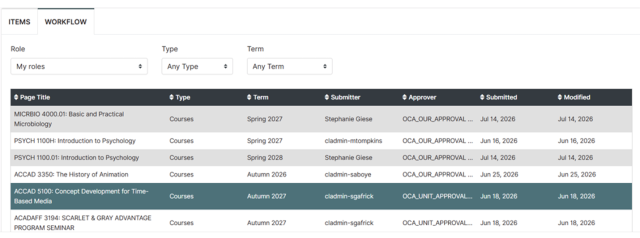
- When a page is selected the Page Review window will be populated with information
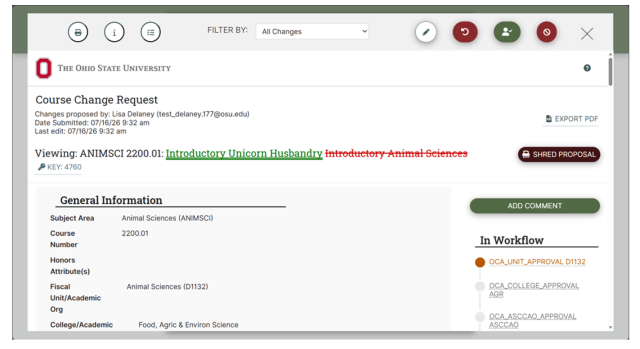
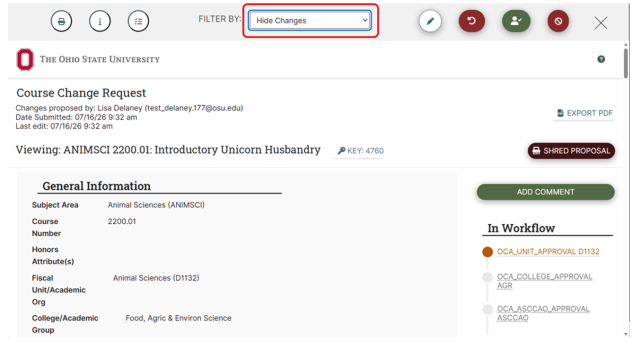
- To filter your pages, click the Filter Drop Down, then enter choose the filter you want.
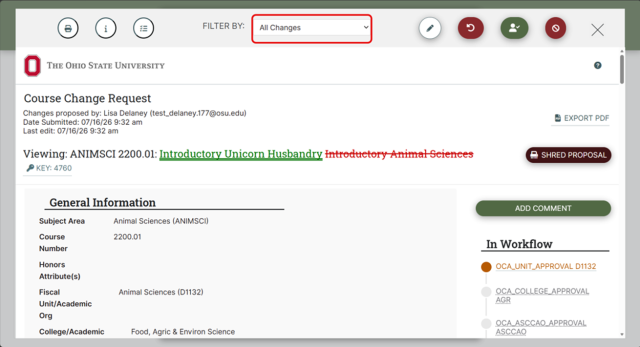
- Choose an action on the page. One of four actions may be taken after reviewing the page. To edit, rollback, or approve the page, click the appropriate button in the upper right of the Page Review window. The page may also be left alone and returned to later.

- Edit the page: Click Edit to make changes to the page. This will produce a toolbar at the top of the Page Review window for Catalog pages. Visit the Page Body or Set-Up/Title instructions for how to make the desired edits. CIM and CLSS pages will open the CIM Form or direct the user to the Scheduling Unit respectively. An accepted general practice is that after editing the page, approve the page to send it to the next step in the workflow.
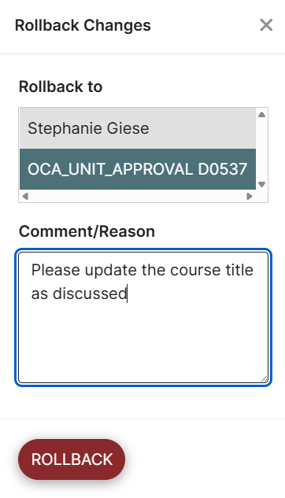
Rollback the page: Click Roll Back to send the page back to a previous editor or approver. A prompt will appear to make comments about why the page is being rolled back. Make comments in the space provided and click Rollback in the new window. The page will then be removed from the Pages Pending Approval section.
- Approve: Click Approve to send the page on to the next step in the workflow and remove the page from the Pages Pending Approval Section
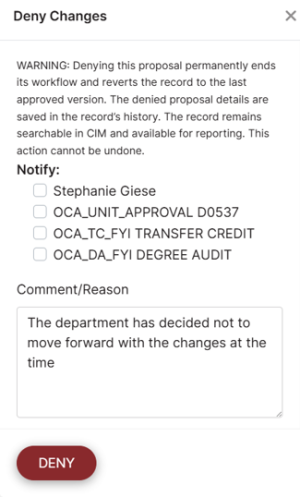
Deny: The proposal may be denied. A warning window will pop up which allows you to notify the proposer (and FYI steps if appropriate) and provide a reason for the denial.
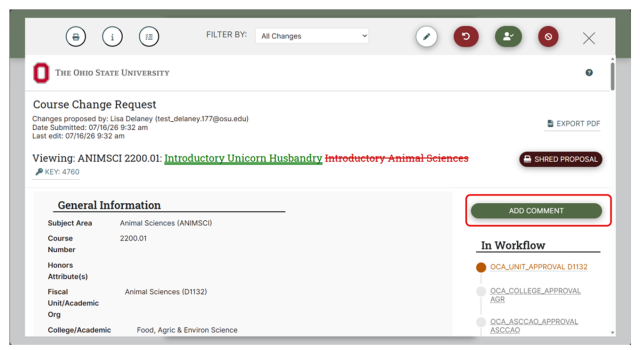
Add Comment: An approver may choose to include information for the next approver in the workflow that may be helpful context but not relevant to the proposal itself. Comments are not required.
Helpful Tips:
- Be sure to click Approve when finished, so the page advances through the workflow
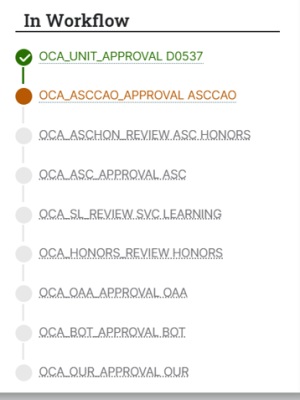
On the right side of the page is a section labeled In Workflow. Underneath the header you will see the steps in the workflow that the proposal has already completed and steps remaining (including FYI steps, if applicable) for it to be fully approved.
All changes are visible by default. Select Hide Changes at the top to view only the final text. Changes are also viewable by author (user that made the change) by selecting their name from the dropdown. While red/green markup is normally displayed, choosing Hide Changes removed the markup.
All Changes:
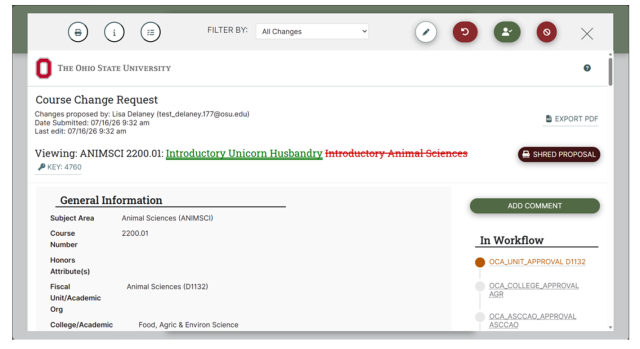
Hide Changes: