Instructions from the Office of the University Registrar for processing block enrollments.
Step 1: Create Class Block
- Navigate to the Create Class Block page.
- Select the Add a New Value tab.
- Complete the following fields:
- Academic Institution (may default to OSUSI)
Class Enrollment Block: create an abbreviation of the class block.
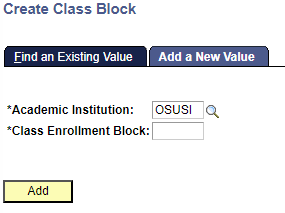
Select the Add button link. The Create Class Block page will open.
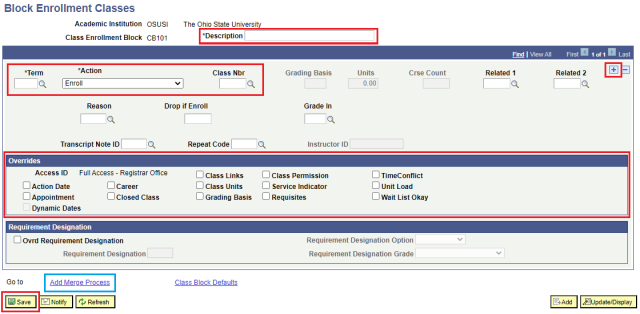
- Complete the required information fields:
- Create a Description for the Class Enrollment Block. The description should adequately identify the group being created, especially if it is to be reused in the future.
- Term
- Enroll must be selected as the Action.
- Class Nbr- If you don't know the Class Number, you can use the Course Detail link (magnifying glass icon) to search for it in the Schedule of Classes.
- Complete additional information/criteria fields, if applicable.
- Grading Basis
- Units
- Crse Count
- Related 1
- Related 2
- Reason
- Drop if Enroll
- Grade In
- Transcript Note ID
- Repeat Code
Select the Overrides appropriately with discretion.
- To add additional courses to the block, insert a new row by selecting the Add a new row at 1 link (plus sign icon) and repeat steps 5 through 7.
- Select the Save button link.
Step 2: Create Student Block
- Navigate to the Create Student Block page.
- Select the Add a New Value tab.
- Complete the following fields:
- Academic Institution (may default to OSUSI)
Student Enrollment Block: Create an abbreviation for the student block.
- Select the Add button link. The Block Enrollment Students page will open.

- Create a Description for the Student Enrollment Block. The description should adequately identify the group being created, especially if it is to be reused in the future.
- Complete the following fields on the Block Enrollment Students page:
- ID (OSU Studetn ID)
- Academic Career
- To add additional students, insert a new row by selecting the Add a new row at 1 link (plus sign icon) and repeat step 6.
- Select the Save button link.
Step 3 Merge a Class Block with a Student Block
- Navigate to the Block Enroll Merge page.
- Select the Add a New Value tab.
- Complete the following fields:
- Academic Institution (may default to OSUSI)
- Student Block= Type the name of the block or select the Look up Student Block link (magnifying glass icon) to search for your block.
Class Block = Type the name of the block or select the Look up Student Block link (magnifying glass icon) to search for your block.
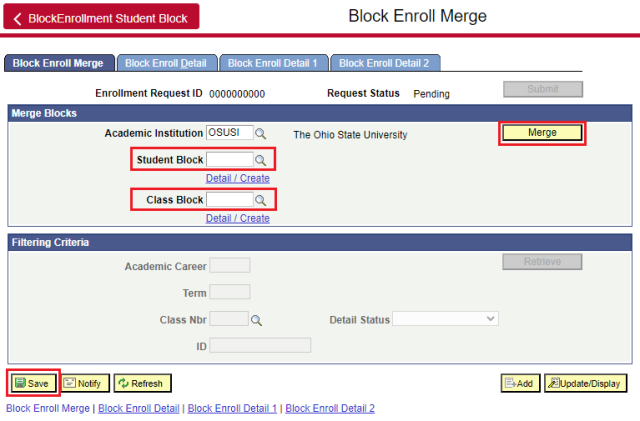
- Select the Merge button link.
Select the Submit button link to complete the block enrollment process.
Select the Retrieve button link to view details of the merge and /or any errors that may have resulted. Status will reflect either Success or Errors.
- Select the Block Enroll Detail tab for more information regarding any errors for a particular student. Errors will appear in the Status column. Select the Detail link to read error message in the Messages section.