OTDI Web Hosting now keeps a 14-day daily backup of your hosted Document Root & its associated databases. These backups are overwritten every 14 days. This document is a step-by-step explanation of how to recover a broken host with these backups, and assumes the user has a working knowledge of Linux CLI and MySQL.
1. Backup existing database (Just In Case)
Login with your Name.# and Duo, choose the site that needs repair, and go to your Web Hosting Document Root.
cdwebBackup the existing database, just in case …
mysqldump -u [username] -p -h webdb1.service.ohio-state.edu [database_name] > [database_name_and_todays_date].sqlEnter the database Password when prompted.
Ensure the dump contains data
tail -n 50 [database_name_and_todays_date].sql2. Begin Recovery of Files from Web Hosting Dashboard
The recovery process takes anywhere for a few minutes to several hours, depending on the size of your site & if you have a multi-site environment. Start this process as soon as you can.
Open your favorite Web Browser and navigate to web.osu.edu
Login and navigate to the site having issues, Select the correct instance tab (typically Prod), click on the ‘Restore’ tab & then on ‘Get Snapshots’.
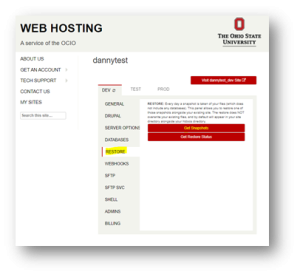
Choose your Restore Point and click “Select”. (I chose April 3rd)
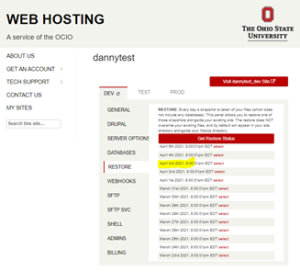
After selecting the backup date you want, you will be taken to a status screen that will auto update with how far along the backup is. Once complete, you will have a new folder in your document root, but as I mentioned earlier, this process can take a while to complete. Let’s move on while the restoration takes place in the background.
3. Drop existing Database Tables (Optional)
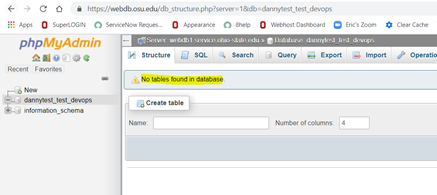
If you believe the source of the site failure lies in the structure of its database, (ie: After a failed Drupal Update) you may want to drop all the existing tables before importing the backed-up SQL file, as the import will only overwrite tables and structures that existed at the time of the backup. In most cases this will be unnecessary.
Open your favorite Web Browser and navigate to https://web.osu.edu
Login and navigate to the site having issues, Click on the Database Menu & then on phpMyAdmin.
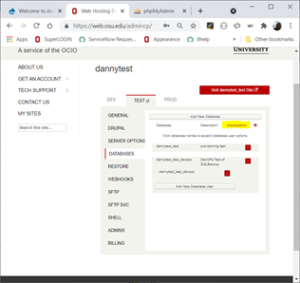
Login with the database’s username & password.
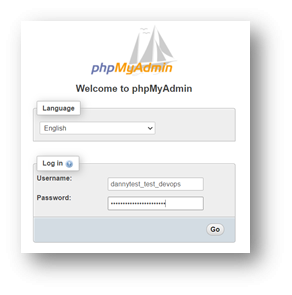
Choose the database you want to Drop.
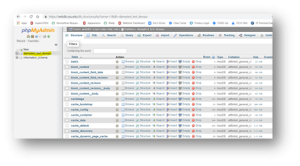
And scroll to the bottom of the page.
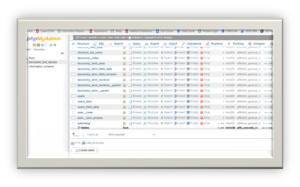
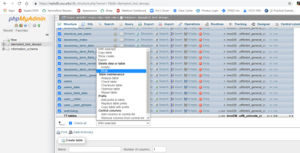
Click the ‘Check All’ box and choose ‘Drop’ from the ‘With selected’ menu bar.
Click (Yes).
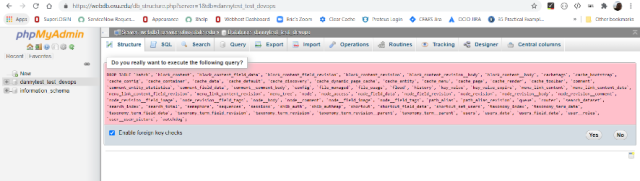
Cleanup complete!
4. Check on Recovery Status
Periodically click the [Get Restore Status] button in the Restore section on Web Hosting Dashboard to see if the Restoration completed. once complete, it will show up in the list of completed jobs.
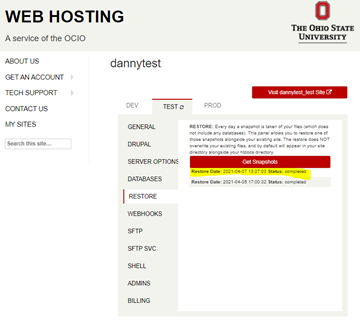
Once complete, you will find a new directory in your sites document root entitled:
aws_backup_restore_[restore_date_and_time]This directory is an exact copy of your webroot files, along with a copy of any associated database(s), taken on the date selected earlier in the Web Hosting Dashboard. The database backup is in a subfolder entitled “sqlbackup”.
♦ Please Note!
The recovery subfolder is named for the date & time the restoration was completed, not the date & time of the original backups.
5. Relocate recovered flat files
From here it is simply a matter of copying & pasting any (Or all) of files & folders you need from the recovery subfolders to their proper location(s) under your Webroot. You can do this using any method you feel comfortable with.
6. Import recovered Database(s)
Connect to Webhosting CLI with your favorite terminal emulator. Here’s How:
Login with your Name.# and Duo, choose the site that needs repair. Then go to your Webhosting Document Root
cdwebEnter this command, replacing the italicized portions with the names of your environment components:
zcat aws-backup-restore_[date_and_time]/[subfolder_if_used]/sqlbackup/[Recovered_database_backup_date_and_time].sql.gz | mysql -u [database_user] -p -h webdb1.service.ohio-state.edu [Target_Database]This will restore a copy all of backed-up tables & data into your database(s) listed in the Database section of the Webhosting Dashboard.
7. Clear Cache & Test
Before testing your recovered site, be sure to clear any Cache from your browser(s) and any Web Content Management Software (ie: Drupal, WordPress, Joomla, etc.) you may be using.
8. Remove Recovered Files
Once your site is back On-Line, the files you recovered in Steps #1, #2, & #4 are just taking up space. And depending on the size of your website(s) they may be taking up A LOT of space. Be sure to delete them!
9. Help
As Always, if you have problems with any of these processes, please create a Help Desk Ticket at: