These are not normal SFTP accounts, but rather special accounts for programmatic file transfers. This type of access is unusual, but sometimes necessary.
Create the account
- Open the WH Dashboard
- Navigate to your SiteID & choose your environment (Dev/Test/Prod)
- Choose SFTP SVC on the Left-Hand Menu.
Click the [Add New SFTP Service Account] button.
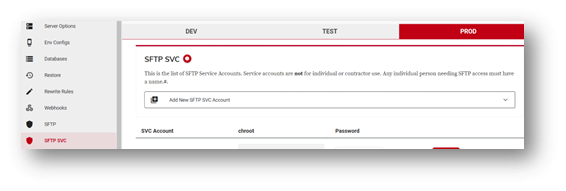
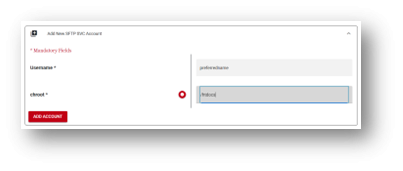
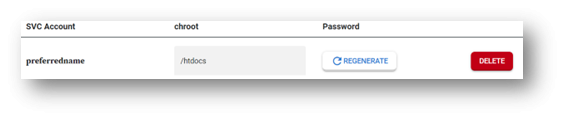
Enter the preferred Service Account Name & desired chroot, then click [Add Account].
Record/Copy the generated password for later use. This password is ONLY visible once.
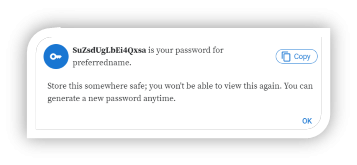
- Click [OK] and your New SFTP Service Account is ready for use.
Edit Accounts
If you need to edit existing SFTP SVC accounts, you can do that here as well:
- Passwords can be updated by clicking the [Regenerate] button.
- Chroot limitations can be modified by entering a new chroot.
Whole accounts can be deleted by clicking the [Delete] button.
How to Use
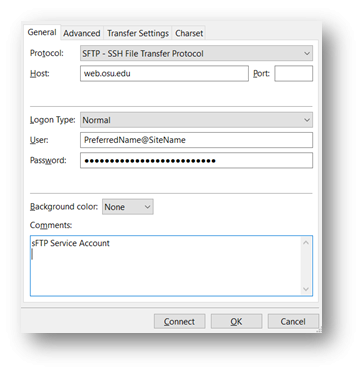
Essentially, you’ve created the service account ‘PreferredName@SiteName@web.osu.edu’ If it helps, here’s a what a FileZilla™ Connection Setup would look like: