Guacamole has additional features that you may have a business need to use. These three features are:
- Secure FTP
- RDP File Transfer
- Printing
If you require any or all three of the features, you will need to submit a generic request through the OCIO Self Service portal located at the IT Self Service site or contact the IT Service Desk at 614-688-HELP (4357) for assistance.
Secure FTP (SFTP)
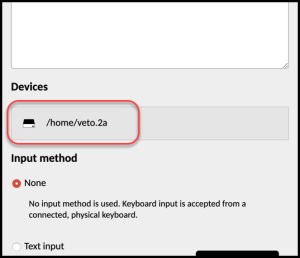
SFTP is used when you want to access files on a remote Linux Server. Once you have established the connection via Guacamole, if the server connection has had SFTP turned on, you may access the remote file structure and place or remove files vi SFTP. Start by opening the hidden options panel. To display the panel on a PC, press the keys Ctrl + Alt + Shift, or on a Mac press Ctrl + Option + Shift. Within the panel look for the devices section and locate the device you are currently connected to. If you do not see the connection, then this feature may not have been activated for you.
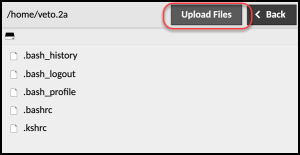
Next, click Upload Files, choose the files you would like to move to the remote server and click Upload again.
You will receive a message telling you that the files have been successfully uploaded to the remote server.

To test you may run a directory command on the remote server to see that the file was successfully uploaded.
The ability to drag from your local machine directly to the remote server through the graphical interface is also available, however the control panel must be closed for it to function properly.
Remote Desktop Protocol (RDP) File Transfer
RDP is used when you want to access files on a remote Windows Server. Once you have established the connection via Guacamole, if the server connection has had RDP turned on, you may access the remote file structure and place or remove files vi RDP. Start by opening the hidden options panel. To display the panel on a PC, press the keys Ctrl + Alt + Shift, or on a Mac press Ctrl + Option + Shift. Within the panel look for the devices section and locate the device you are currently connected to. If you do not see the connection, then this feature may not have been activated for you. Additionally, since this is a Windows based environment you can see the remote server as a mapped drive in your file browser.
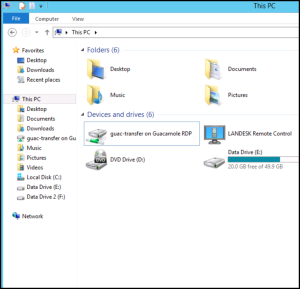
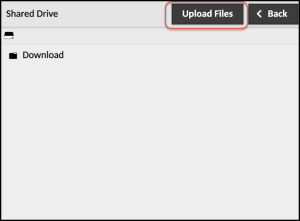
Within the hidden control panel, you will see a section labeled devices and you will see the Shared Drive on the remote Windows server that you have been provided access to. Select the shared drive. Click Upload files, choose the files you would like to upload to the server and click Upload again.
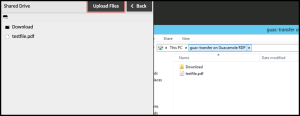
Once the file is successfully uploaded you can use your local file browser to view the remote shared drive and see that the file was successfully uploaded.
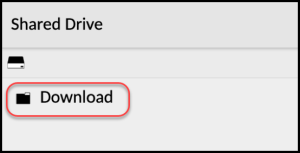
To download a file from the remote Windows Server, drag the file from the server to the Download folder in the control panel. This will download a copy to your local machine. The original file may LOOK like it was moved, but it is in fact a copy. Once the server refreshes you will see the file still exists on the remote server, but a copy exists in the download folder on your local computer.
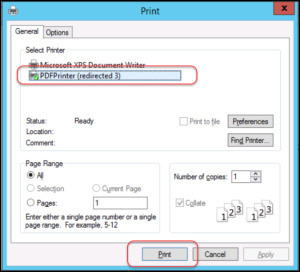
Printing
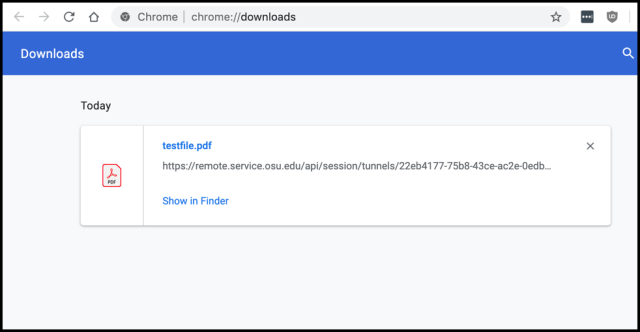
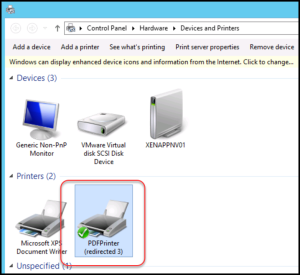
This feature allows you to download a pdf version of a file from the remote server directly to your computer to allow for local printing of the file. The “printer” is added as a printer object to the server called PDF Printer.
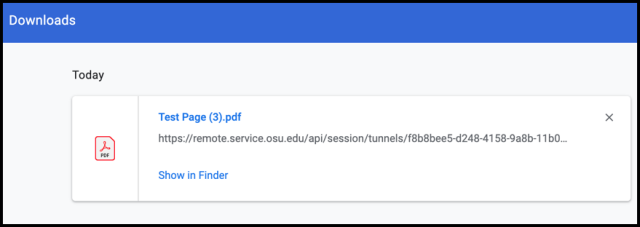
When you send a file to the printer object a pdf will be sent to the Downloads folder of your local computer. You may then print the file to any local printer object you have access to.